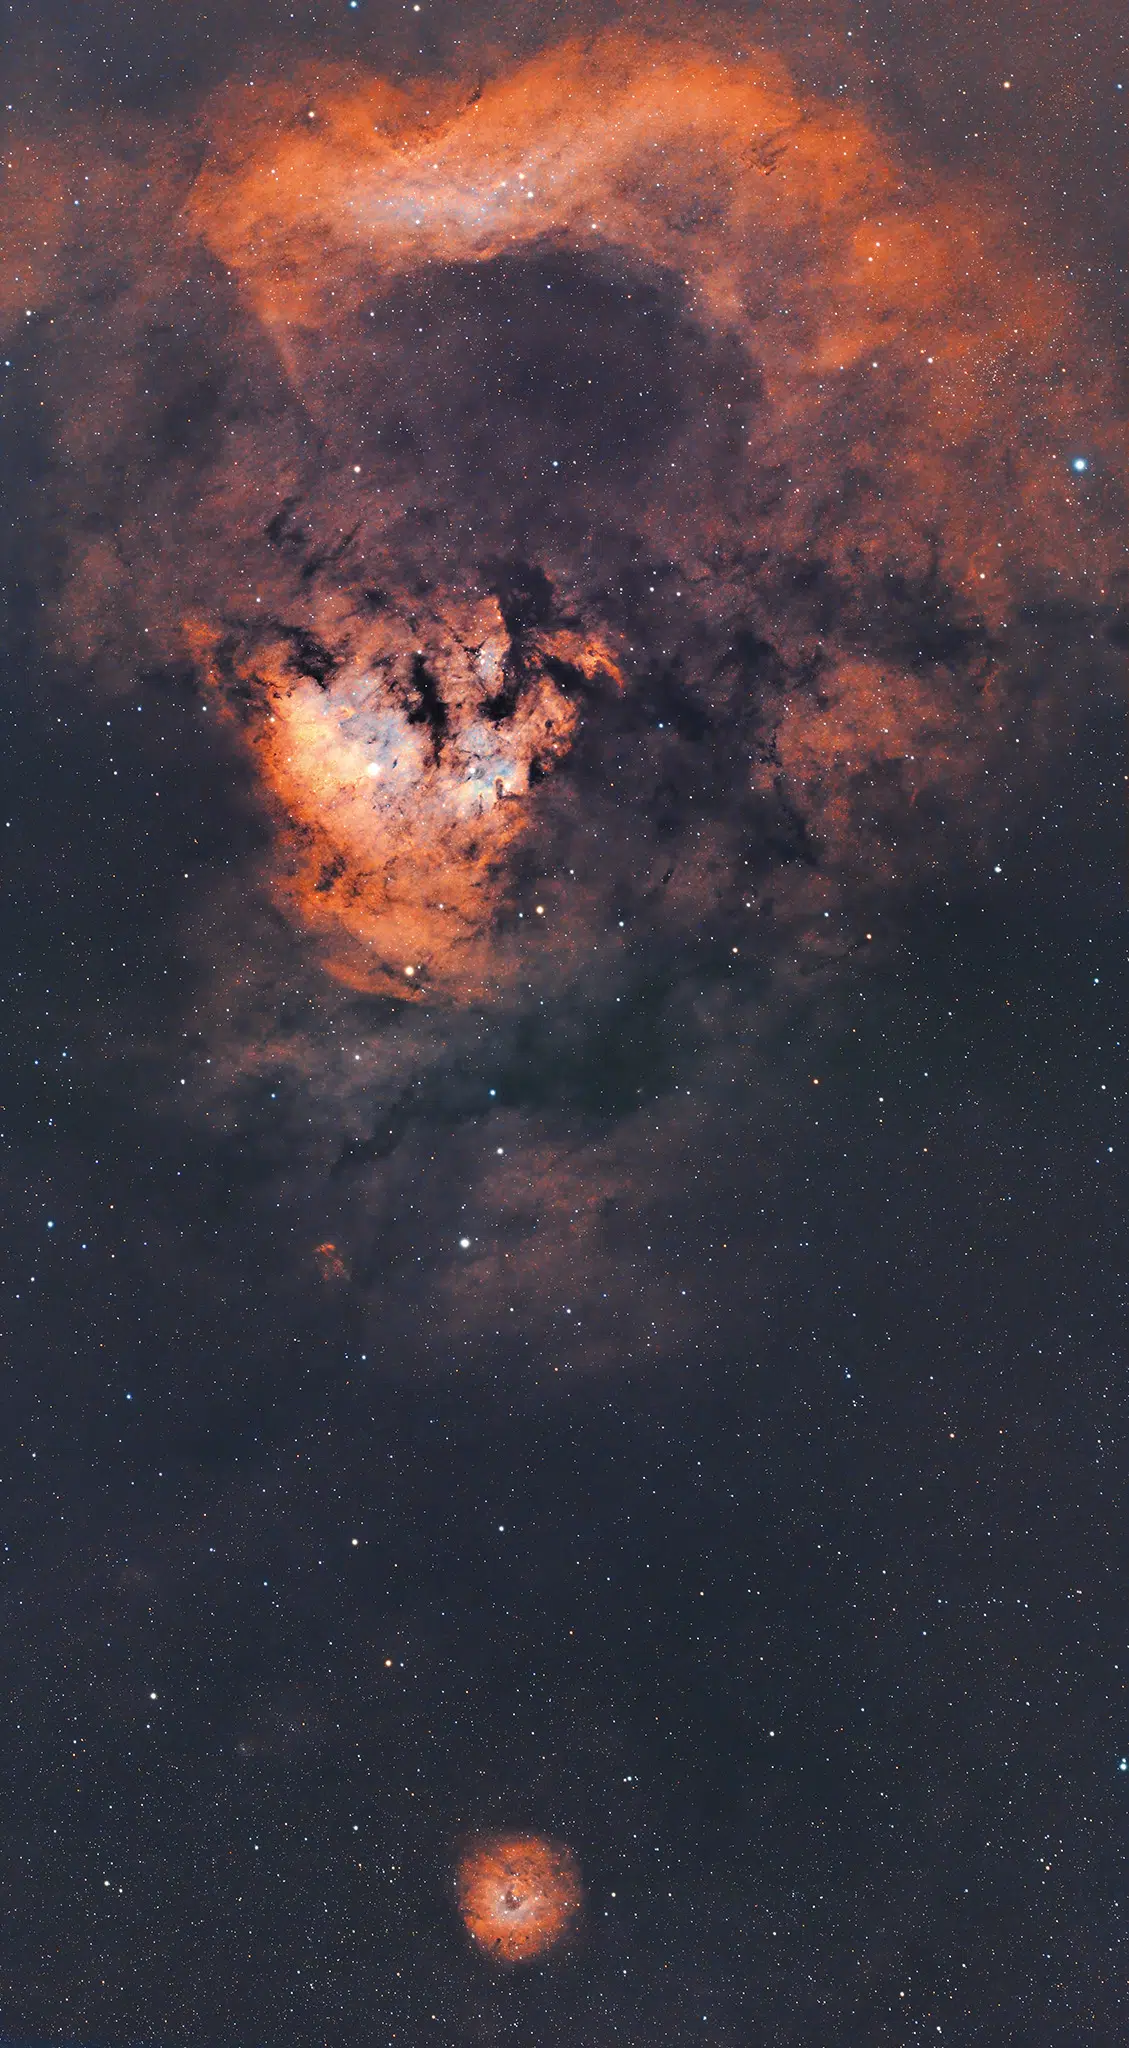
Is there a big question mark in space? It’s hard to imagine, but such a thing does exist, and it’s amazing how much it resembles a decorative question mark down to the little dot below it. The larger part is called NGC 7822, but the little dot is known as Sharpless 2-170. These 2 nebulae are often referred to as The Cosmic Question Mark. I’ve taken NGC 7822 previously and was never happy with how it came out.
NGC 7822 is a gigantic object. Even with my widest telescope, a Redcat 51, it wouldn’t fit my field of view. If I had a camera with a larger sensor than the ASI533MM, this may have fit in 1 photo, but I don’t. So, how did I do this? I created a 2-panel mosaic. I would have loved to create a 4-panel mosaic (which would have been awesome), but time and sanity are precious, and I didn’t want to exhaust it.
Shooting NGC 7822
As usual, I started this project out planning on Telescopious. Using my equipment of a Redcat 51 (250mm) and ASI533MM camera (11.3mm x 11.3mm sensor), I mapped out a 2-panel mosaic. After mapping it out, I exported the configuration to paste into my ASIAir and started shooting.
Since this was a mosaic, shooting it takes double the time. I usually shoot about 10 hours per panel, and for this mosaic, I shot roughly 20 hours for both.
After I finished collecting all my subs, I moved on to my first step of stacking in Astro Pixel Processor.
Creating Mosaics in Astro Pixel Processor
This is my 2nd mosaic. Last year, I shot the Heart & Soul nebulas mosaic. This one, like the Heart & Soul, is a 2-panel mosaic. The only difference is that it’s vertical instead of horizontal. In the Heart & Soul post, I went over my entire process of doing a mosaic in Astro Pixel Processor (APP), which turned out to be more complex than I thought. There was also a lot of incorrect information online on how to do a mosaic in APP. If you want to do a mosaic and use Astro Pixel Processor, I highly recommend you read that post.
This mosaic followed the same steps in APP, which turned out great on my first attempt.
Processing NGC 7822 Using the SHO Method
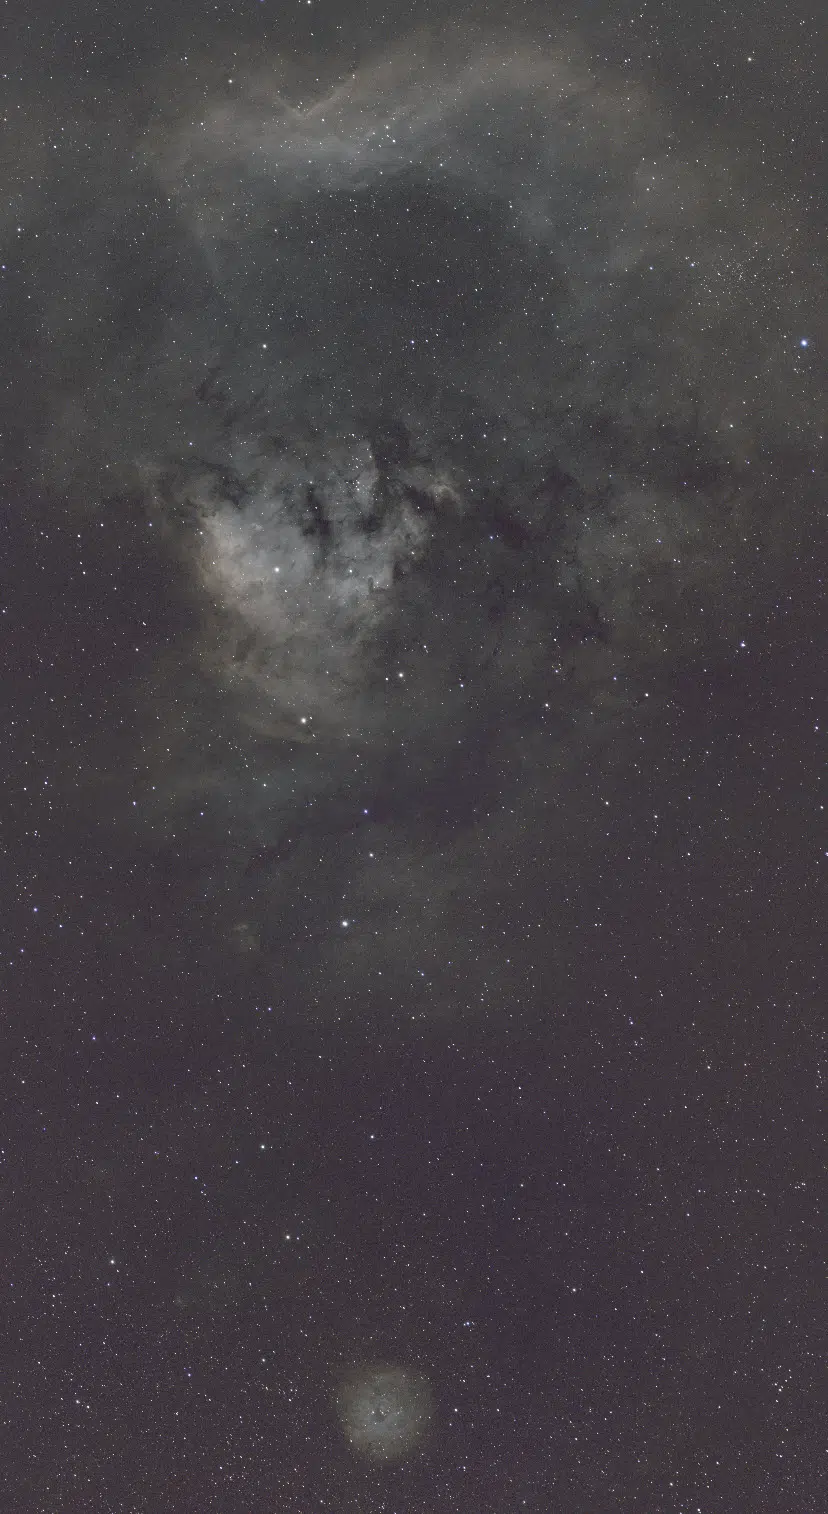
This is where the fun began for me. For all nebulas, I start with my standard process for nebulas. However, there are always exceptions to the rule; this was one of those exceptions. With my usual process, the image turned out like the one below.

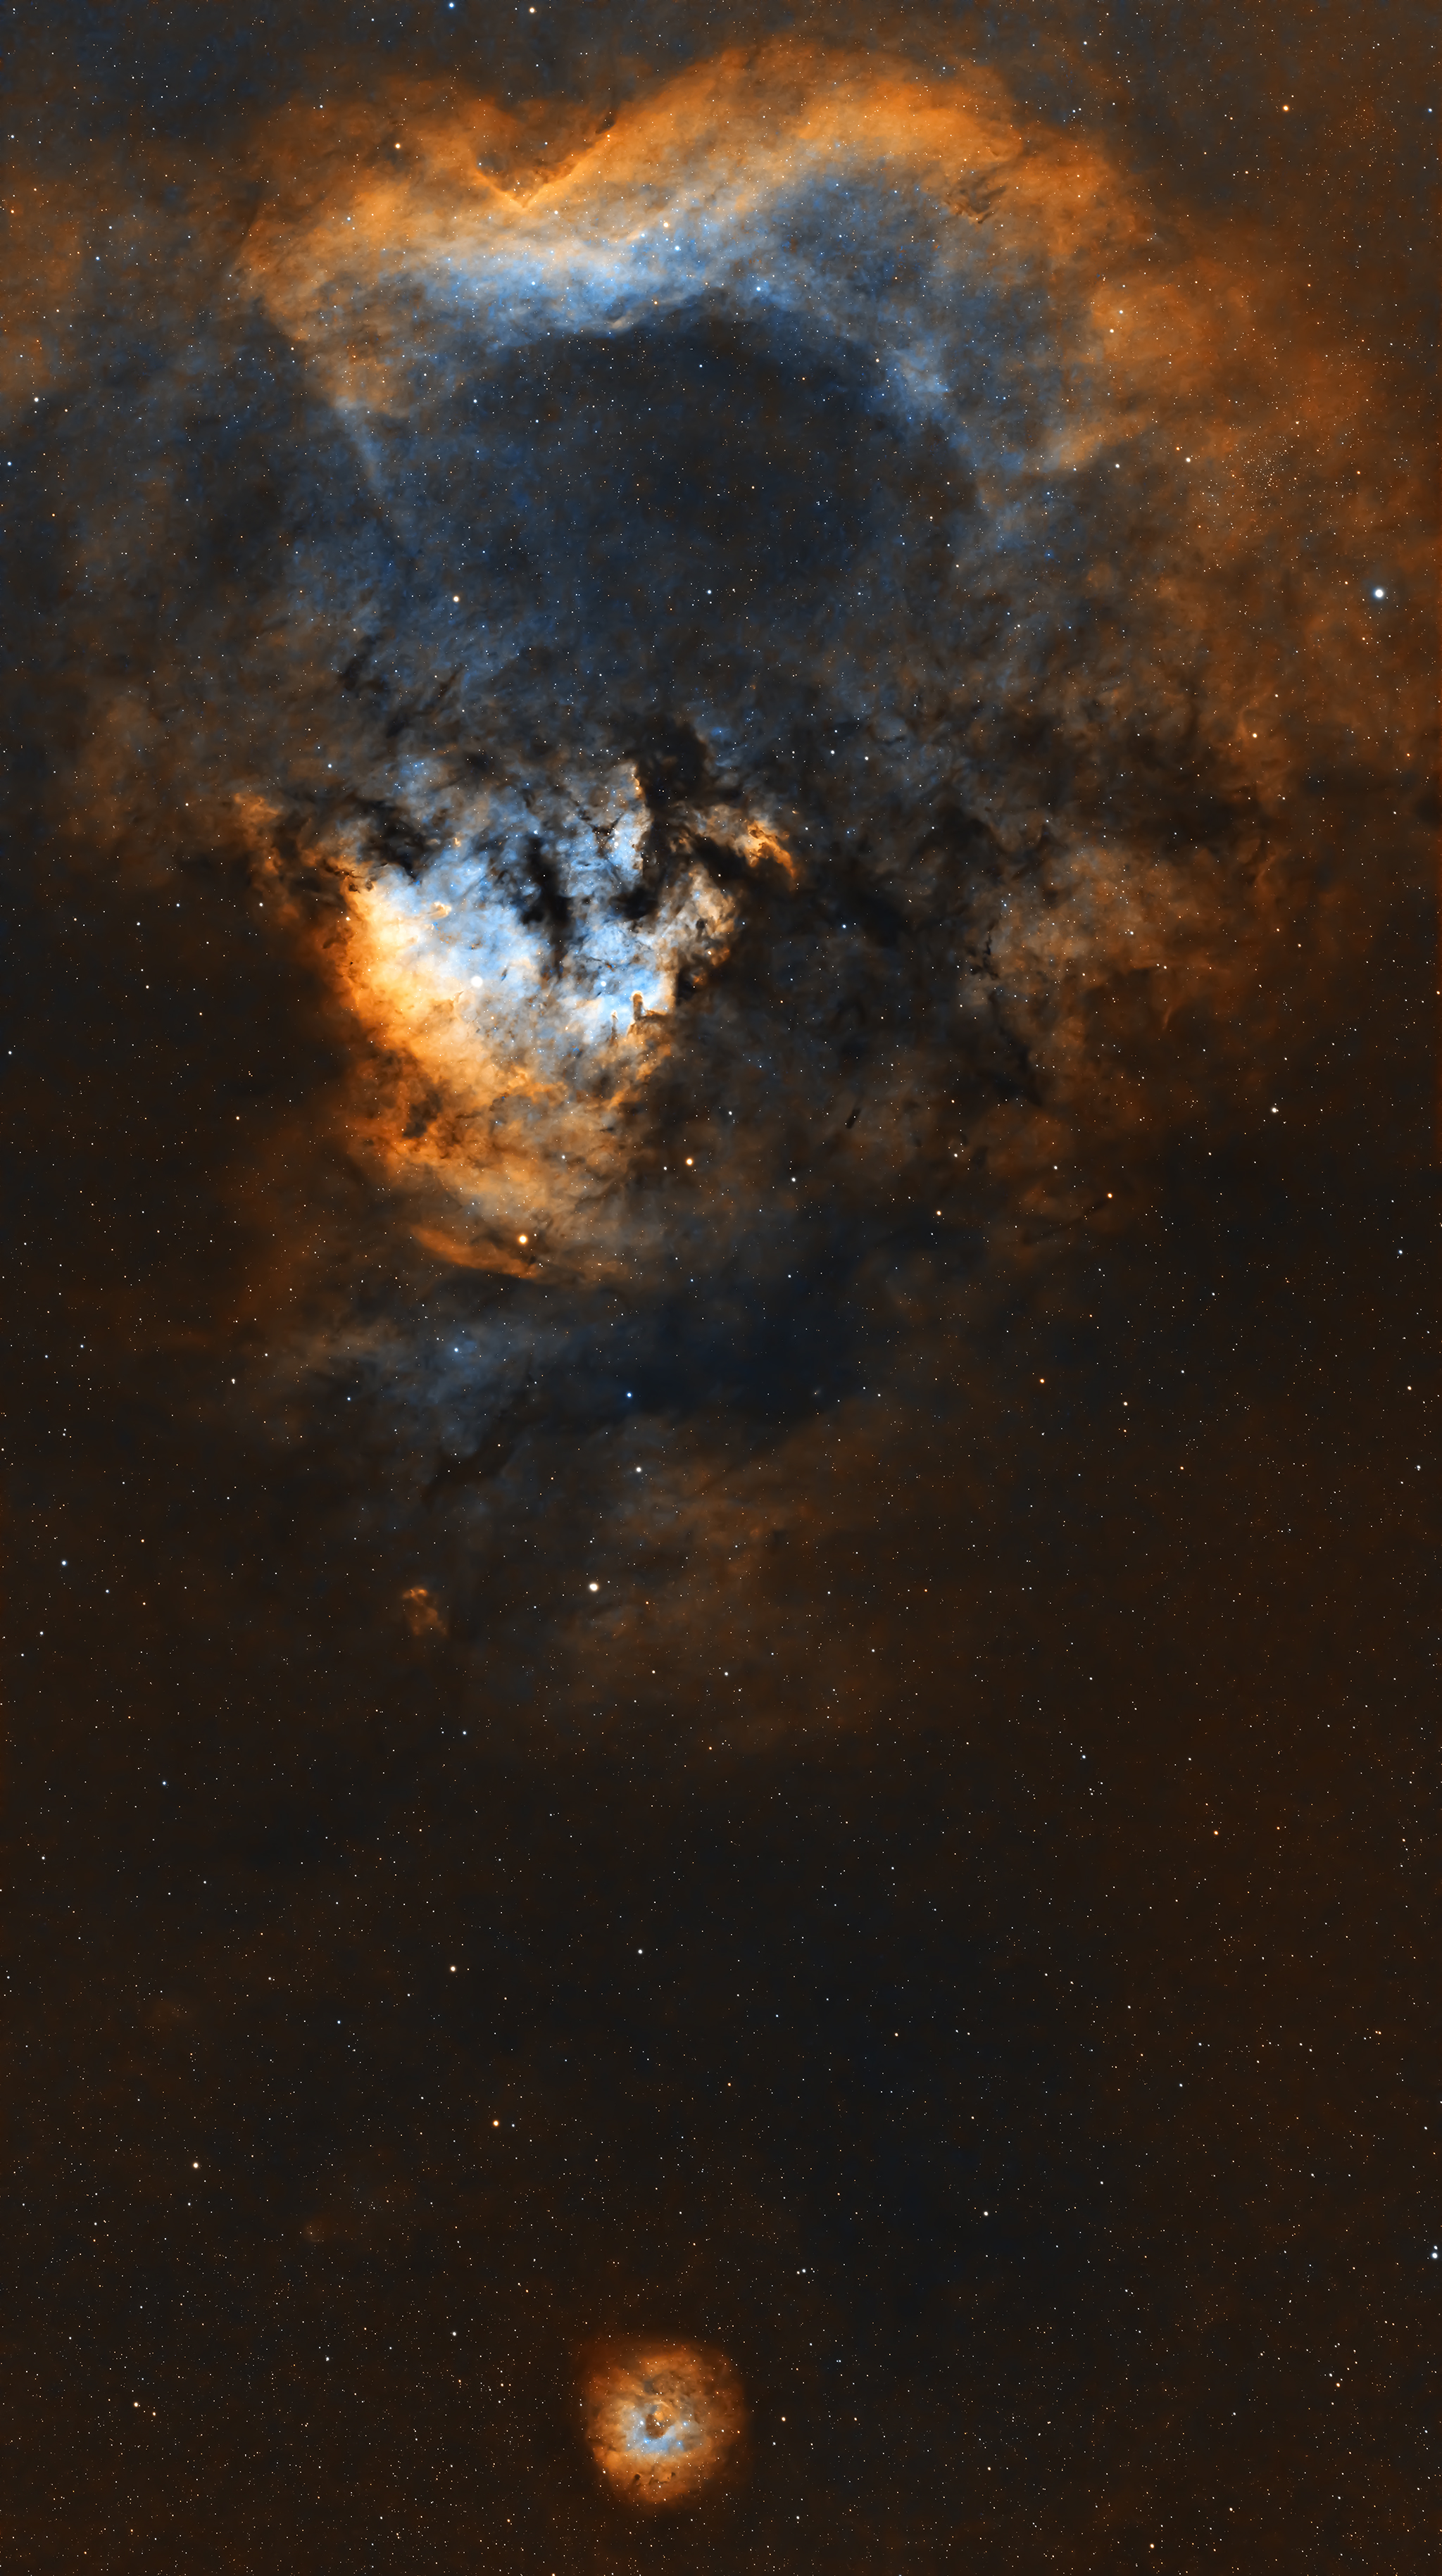
I don’t think this looks terrible, but compared to other images I saw online, it felt flat and overly red with very little sign of Oiii (blue color). The channel combination method is the main difference between the image above and the final image featured at the top of the page. I used the PixelMath narrowband combination method for the overly red image above. I used a traditional SHO method for the final result. SHO is a simple process where you use Pixinsight’s channel combination and map S to red, H to green, and O to blue.
When I combined it using the SHO method, the image came out with low contrast and looked drab. In most cases, I would have given up here. However, like a video shot in a LOG format, I knew the data was there to process this image and have it come out how I wanted it to. See the low-contrast image below, which I combined using the SHO method. You can faintly see all the colors and data. It just needed a bit more saturation, exposure, and contrast.

Other Pixinsight Steps
Because this used a different method for combining the Sii, Ha, and Oiii, the Pixinsight method was a bit different, but not entirely different than my regular process for a nebula.
The first 5 steps of my usual process were followed but changed when I got to Histogram Transformation. At this point, the changes I made were:
- Step 6:
- Combine Sii, Ha, and Oiii images using the channel combination process, mapping them to R (Sii), G (Ha), and B (Oiii) while they are still linear
- This is a drastic difference from my usual process, where images are combined via Pixelmath once they are non-linear
- Step 7: Apply SCNR to remove the green color cast
- Step 8: Histogram Transformation
- The remaining steps are the same, starting with Step 8: Using Ha as Luminance
Final Thoughts on the Cosmic Question Mark
It was an awesome experience to shoot another mosaic. As with any project, this one had its challenges. Instead of the Astro Pixel Processor drama I experienced with the Heart & Soul nebulas, it turned out that using a SHO method I haven’t used since I shot the Rosette Nebula worked better.
This hobby is so much fun (and painful simultaneously) because there is always a challenge. Every project is different and takes a different approach, even if there is a slight difference. A slight change in process can make a huge difference. While I do have a process that works for most nebulae, there are always exceptions to the rule.
My next mosaic project will likely be to shoot a 4-panel mosaic of the Spaghetti Nebula. I will likely lose my mind shooting that many hours. The upside is that the Spaghetti Nebula only requires Ha and Oiii data capture, which may make it more tolerable.
