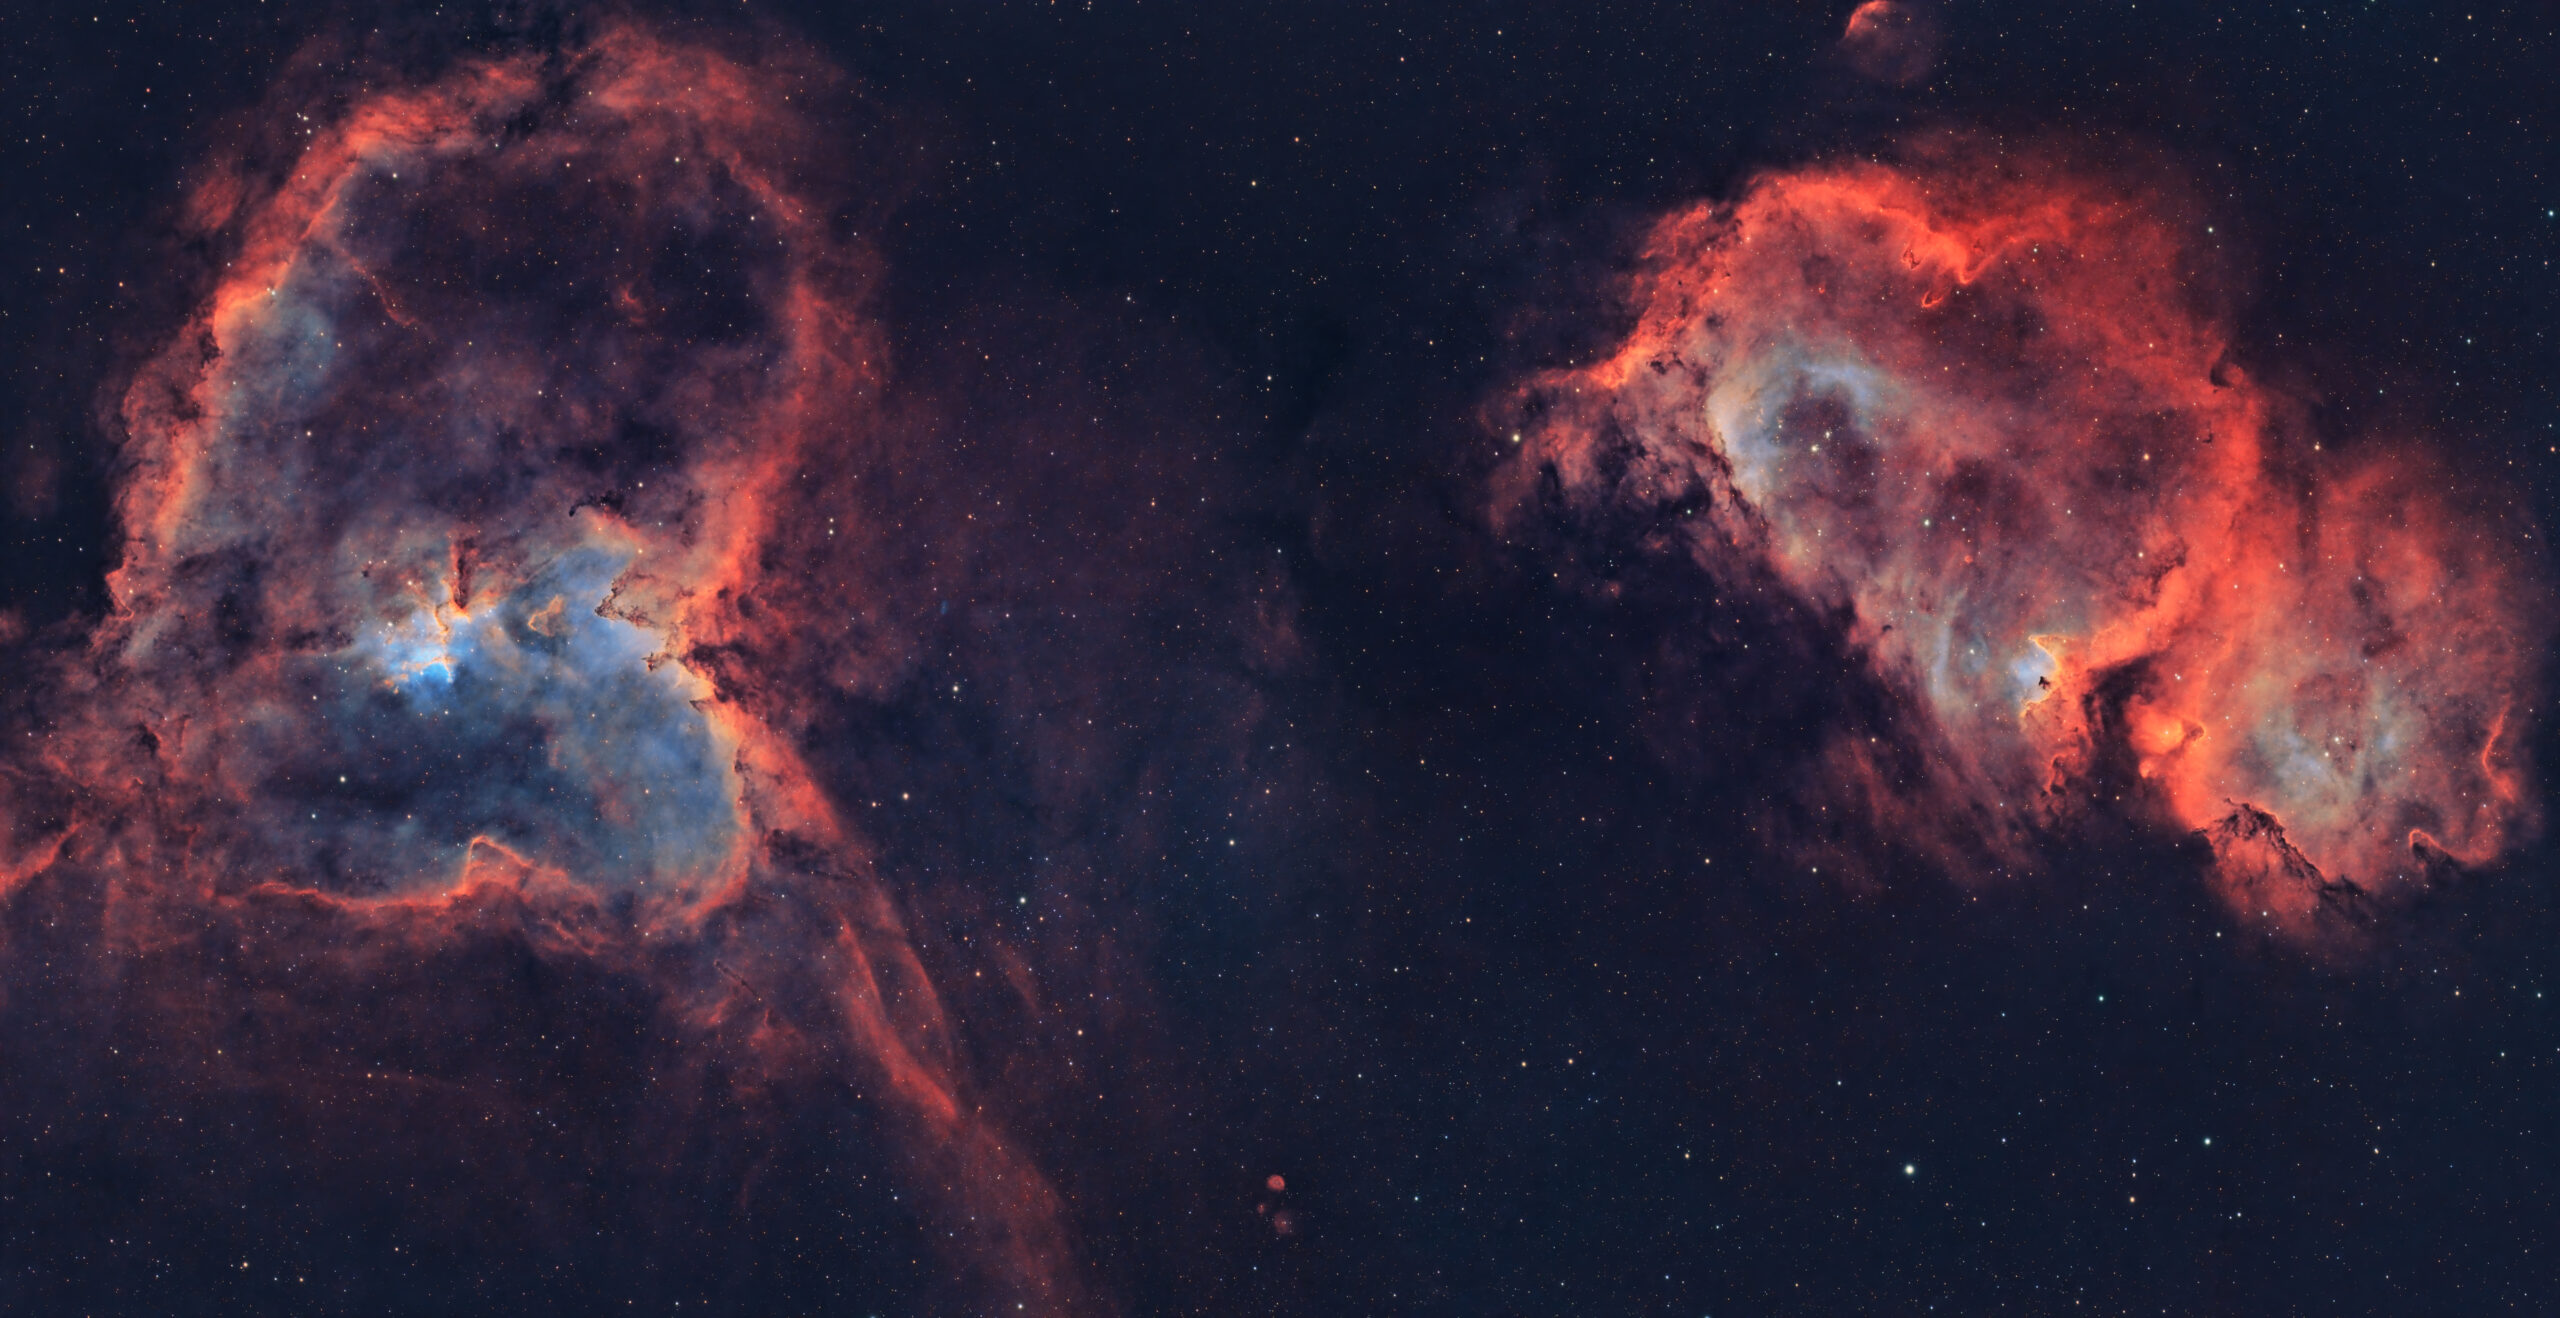
This was my first astrophotography mosaic. I decided on the Heart and Soul nebulas because they were close enough to only require a 2 panel mosaic with my setup. Like anything you do for the first time, I was not expecting this to be a bowl of cherries. I was expecting problems acquiring the data since I had to do 2 panels. This turned out to be a non-issue. The ASIAir’s excellent software allowed me to view my mosaic in the sky atlas and manipulate its framing until it met my preferences. Where the issues began was when I had to sew the 2 panels together in Astro Pixel Processor.
Capturing the Heart & Soul Nebula
Initial Research & Planning
After reviewing Telescopious to see which mosaic would be the best to start with–I found the Heart and Soul Nebulas will only require 2 panels with my setup of a Redcat 51 and ASI533MM. I really really wanted to capture this. I could have done the North American and Pelican Nebula earlier in the season. However, I’ve photographed them both individually. I never took a photo of the Soul Nebula. In fact, the North American Nebula was the first deep space object I ever took and I took it again the following year. I wanted something fresh.
Using the ASIAir for Mosaics
The ASIAir combined with my AM5 mount is the perfect combo. It really makes astrophotography easy. Although I initially used Telescopious to frame the Heart and Soul Nebula and then imported the data into the ASIAir, I ended up completing my framing in the Sky Atlas of the ASIAir. If you use an ASIAir and Telescopious, the process for doing mosaics is easy as seen in this short video. Note that using Telescopious is convenient for getting it started. However, look at the Sky Atlas in the ASIAir afterwards and complete your mosaic framing as I did. I noticed that what I framed in Telescopious was not exactly how it transferred to the ASIAir.
Astro Pixel Processor Woes
It wasn’t until I captured my first 10 hours of data and merged the images in AstroPixelProcessor (APP) that I had issues. There was a seam between the 2 panels, particularly in my Oiii channel. I must have tried up to 10 different methods and tweaks in Astro Pixel Processor before I finally got it right.
I came across discussion boards and videos which educated you on the “wrong way” to do mosaics in APP. This video by Sara Wager, a reputable astrophotographer, provided an incorrect method for mosaics which resulted in me going 6 hours out of my way. At some point and after many attempts, I stumbled upon the right way to do this, which I’m sharing below for anybody who ends up banging their head on the wall like I did.
Correct Process for Mosaics in Astro Pixel Processor
- Process each mosaic panel individually so you have 1 master panel which should include 6 channels for that 1 panel (Ha, Oiii, Sii, RGB if you shoot mono). I had 2 panels, so I ended up with 12 images total (2 panels X 6 channels per panel for those doing this in mono). If you have 4 panels, it would be 24 images total if shooting narrow-band and RGB.
- Merge all final panels together in another session of APP (for me, that was Session 3).
- This was 3 total sessions in APP for me: Panel 1, Panel 2, and the merger of the panels.
I had no problem processing panels 1 & 2, as that’s what I do all the time. The problem began with integration 3 when I had to merge the resulting 12 master images from the 2 panels in APP.
I was at the finish line, but there was another issue. When doing a star analysis in Astro Pixel Processor, the merger of the master panels kept failing. AstroPixelProcessor gave me errors in the analyze stars step repeatedly saying it failed to read the images. The problem was that the artifacts from dithering in my images caused issues with APP reading the images. I cropped out the artifacts in Pixinsight using dynamic crop and then brought them all back into APP and it worked!
Astro Pixel Processor Mosaic Settings
Below are the APP settings you need to use when merging your panels in the final integration and do not forget to crop out the artifacts on the edges. This will happen if you dither like I do.
- Analyze Stars: Set automatic #stars target to 2,500
- Register: Set scale stop to 10 (it defaults to 5)
- Register: Check off “use dynamic distortion correction”
- Register: Remove checkbox for “same camera and optics”
- Register: Set registration mode to mosaic
- Integrate: LNC degree–set to 2nd degree LNC
- Integrate: LNC iterations–set to 6 (you can experiment with this number and the previous one if your results are not great)
- Integrate: Enable MBB and set the percentage to the overlap that you used in your mosaic. Most likely somewhere between 10-20%. Again, you can tweak this if your first results don’t come out correct.
The enjoyable part about breaking these down into multiple sessions is the final merge session doesn’t take long, as it’s only the master files. So, you can re-do it and tweak it without waiting for APP to process upwards of thousands of images.
It was surely a learning experience. I’m glad I’m over the hump as there are a lot more mosaics that I want to do in the next year including the North American and Pelican Nebulas.
For more information on integration time, etc, please see this image on my Astrobin page.