When I first started astrophotography, the Moon was the first thing I imaged (which is probably the case for most of us). Back then, I took single shots with my mirrorless camera attached to a telescope. I wasn’t aware of techniques like lucky imaging then.
With all I have learned and my thirst to learn even more, it was time to revisit the moon. I also needed a break from deep sky imaging. I purchased an ASI585MC planetary camera from High Point Scientific. The 585 can double as a deep sky camera (though uncooled) thanks to its large FOV. It’s also great for capturing a wide-field of the moon. My longest telescope is an Astro-Tech AT115EDT which, at its max, is 805mm f7; this is plenty large enough for lunar imaging. I also purchased a Televue 2x Powermate which will get me both close-ups of the Moon’s surface and a smaller pixel scale to reveal more details.
This was my first attempt at photographing the moon using lucky imaging. It was a night of average to above average seeing, so I think what I captured may have been optimal for northeast conditions. I’m unfamiliar with the differences in seeing for lunar photography as I have no experience with different conditions. However, I hear it’s the most important factor and it won’t be long before I experience sub-optimal seeing.
The capture was done using Fire Capture on an old Windows gaming laptop. I had to connect my ZWO EAF, mount, and camera directly to the laptop and unfortunately, I needed a USB hub to do so which added clutter to an already messy setup. In addition, I downloaded the ASCOM interface and the ZWO ASCOM driver from ZWO’s website in order to ensure my ZWO gear would work with Fire Capture. Unfortunately, this wasn’t possible on a Mac which is what I primarily use.
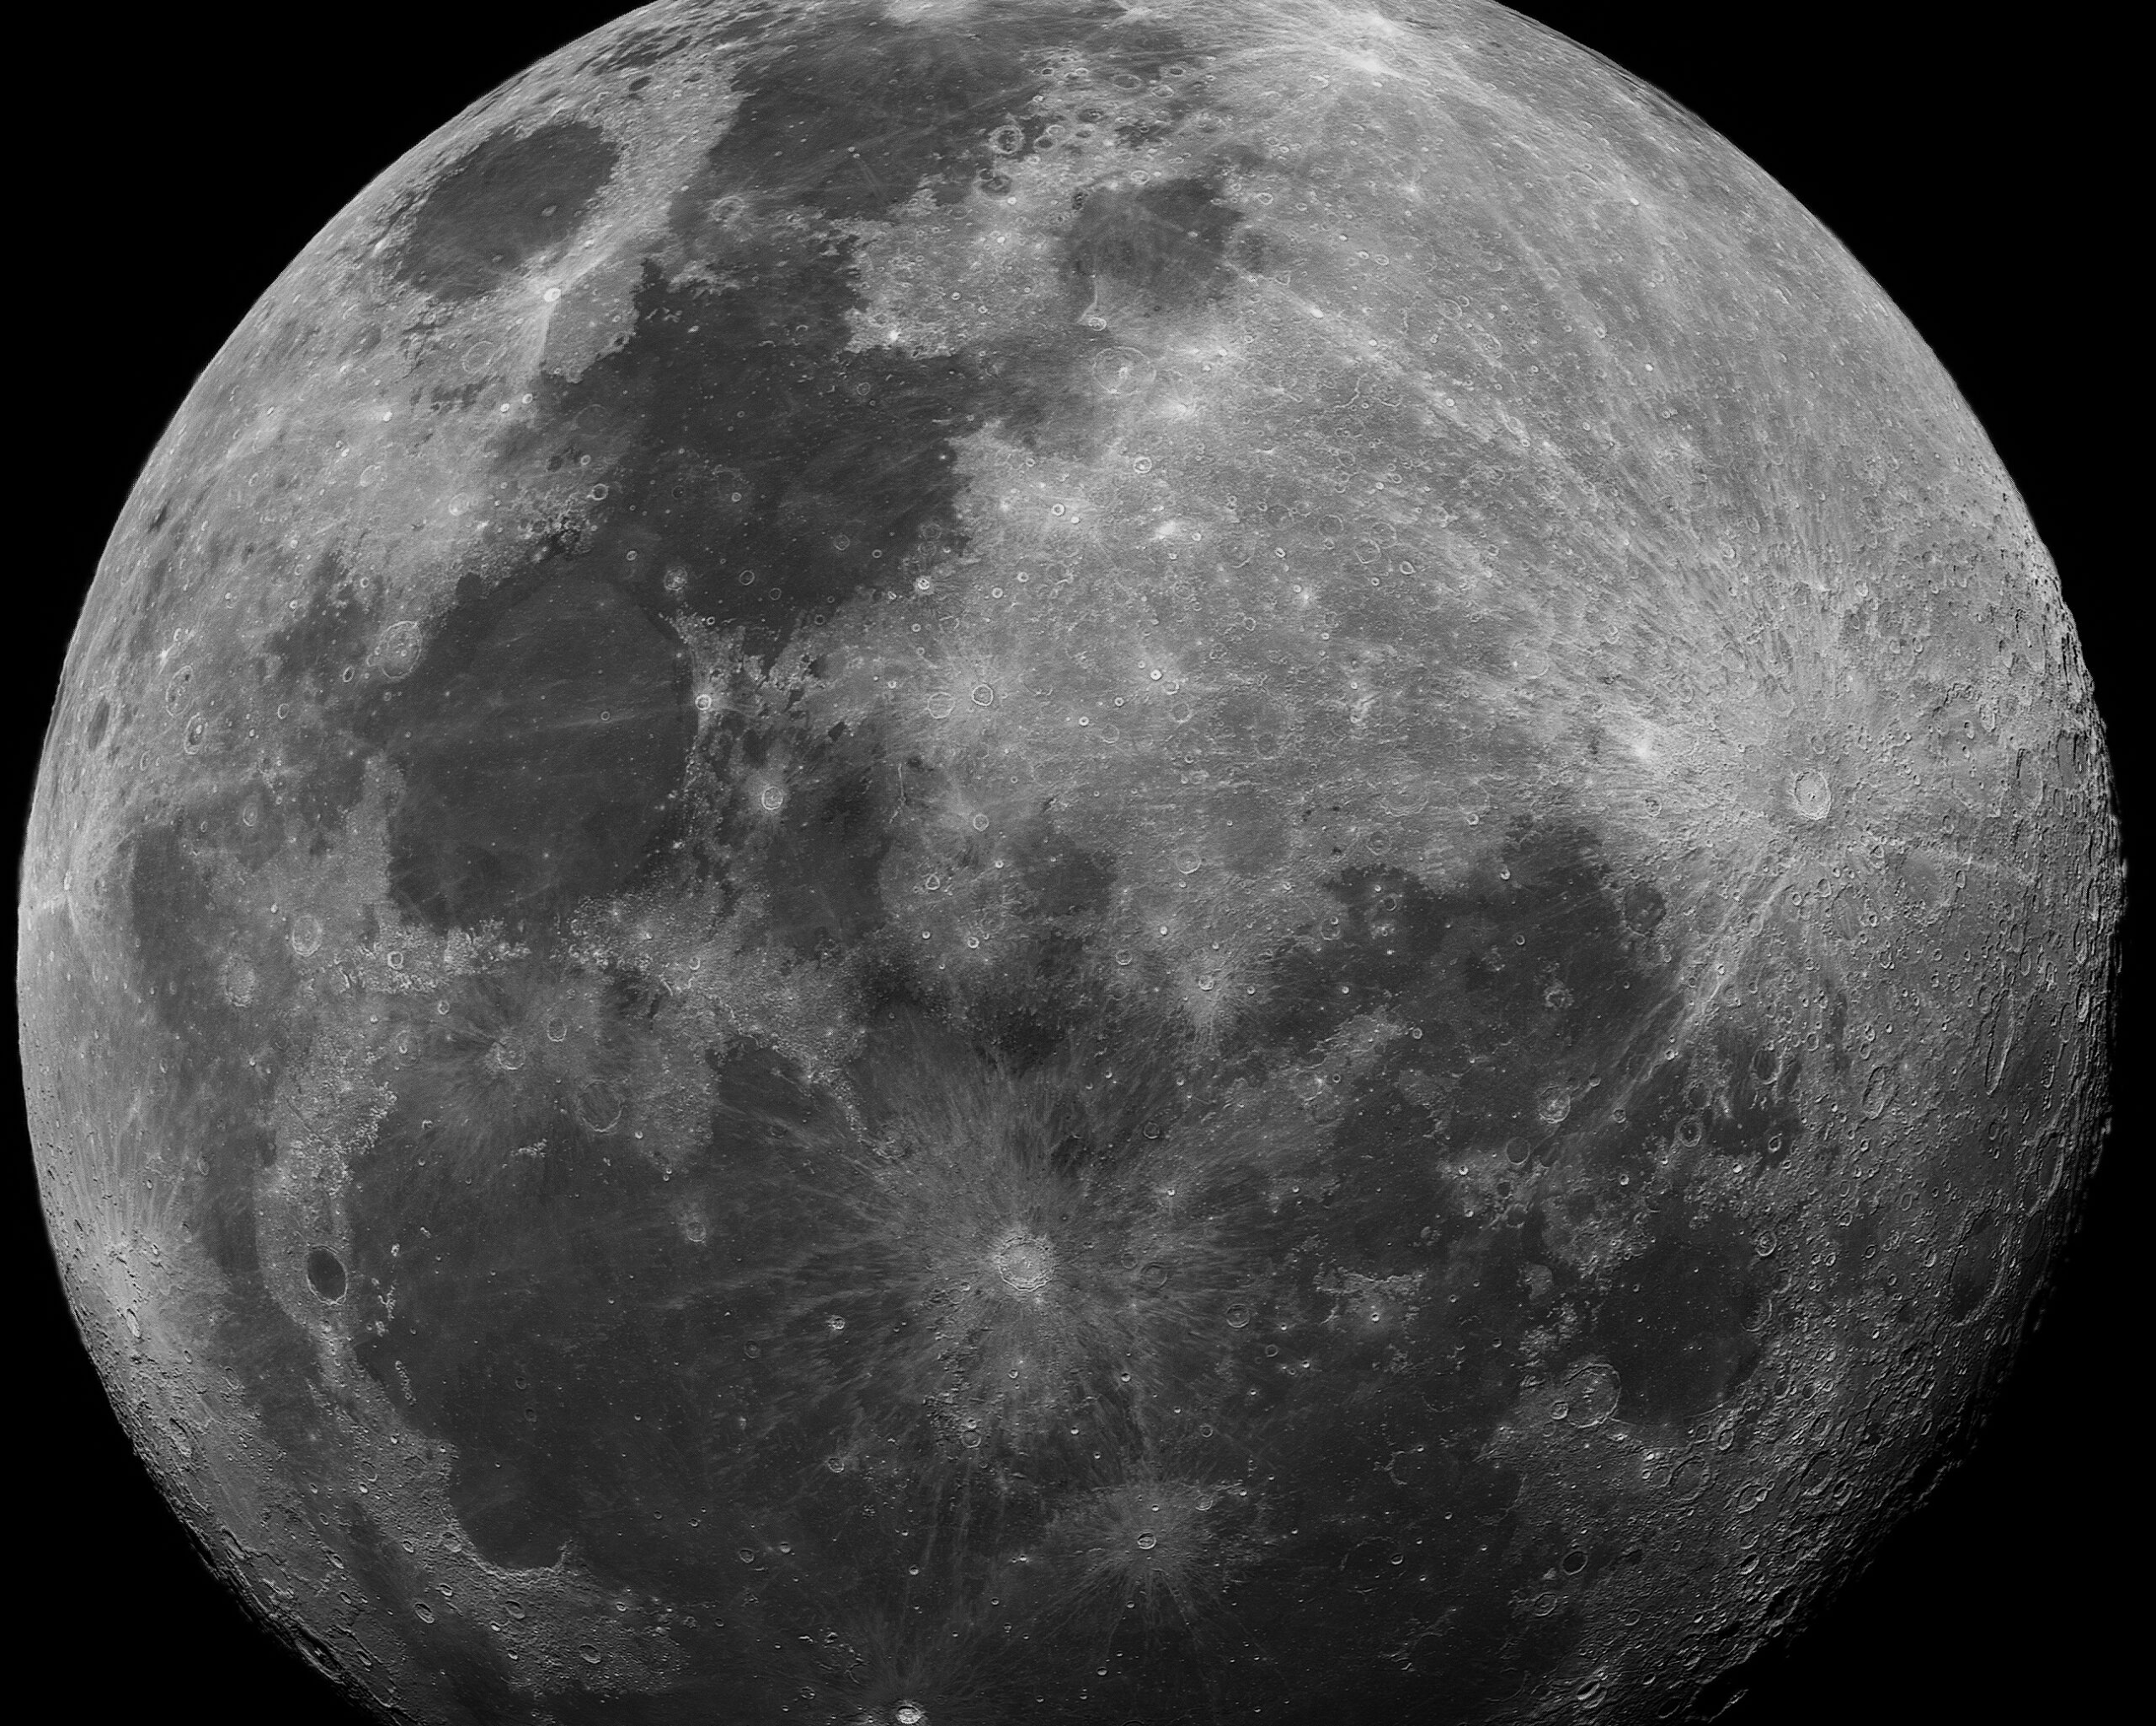
After a lot of experimentation and many follies, I captured an AVI video that was 91 seconds long and 33 GB in file size! The 585 is a 4k camera (3840×2160) so file sizes are huge and frame rates are slow. However, since this was a wide-field image of the moon, I wasn’t so concerned with how many frames I was getting. I captured an average of 44 FPS, which is amazing for 4k frames. In the end, I had 4,068 frames, which was plenty.
In post-processing, I used Autostakkert! and Registax. After watching a few tutorial videos on Autostakkert, I found it delightfully simple. I had a lot of good frames based on AS’s analysis, but I decided to use only the top 13% which was 529 frames. Once I got the final stacked image out of AS, I moved on to Registax to sharpen it. Lucky imagers know Registax for its amazing wavelet sharpening tools for lunar and planetary imaging, and it did not disappoint. Despite not being updated for 12 years, the software performed impressively! I initially avoided using Registax, as I didn’t want to bloat my computer with more software. Instead, I used Topaz Sharpen AI for sharpening. I wasn’t happy with the result as it seemed over-sharpened to me. I also read online that Topaz Sharpen AI sometimes injects pieces of other images into your image, which is terrifying. In the end, Registax provided me with the ability to tune the sharpening the way I wanted it and it rightfully has earned a place in my task bar.
My largest challenge of this entire process was finding the moon. It’s the moon. How can you miss it? I have a go-to mount, but I didn’t want to go through the whole polar-align process and the moon was in a place where I couldn’t see Polaris easily. Instead, I pointed my telescope north and commanded my AM5 to go to the moon, but it ended up nowhere near the moon. Using the AM5’s hand controller, I moved left, right, up, and down, but I couldn’t find it on my laptop screen in Fire Capture. My patience was wearing thin and the moon would soon be behind a tree, so I went inside and got a 24mm eyepiece. I was using a diagonal with the 585 in it as the AT115EDT needed backspace in order to reach focus. I also knew there was a strong possibility I wouldn’t find the moon, so I put in the diagonal instead of using backspacing so I can easily swap in a wide eyepiece. When I put the eyepiece in the diagonal, it took me 3 minutes to locate the moon. I then removed the eyepiece and put in the 585. This was tedious, so I’m considering getting the Baader flip mirror in the future.
Looking forward to doing more imaging of the moon. After I get a little more comfortable with lucky imaging and locating it, I’m going to use the Televue Powermate and a smaller ROI to get surface details. Finally, something to do on moony nights!